Connecting Twitch
Anomalist integrates with Twitch for alerts, chatbot commands, and stream management. Setup takes about five minutes.
Prerequisites
You need a Twitch Developer application. Create one with:
- OAuth Redirect URL:
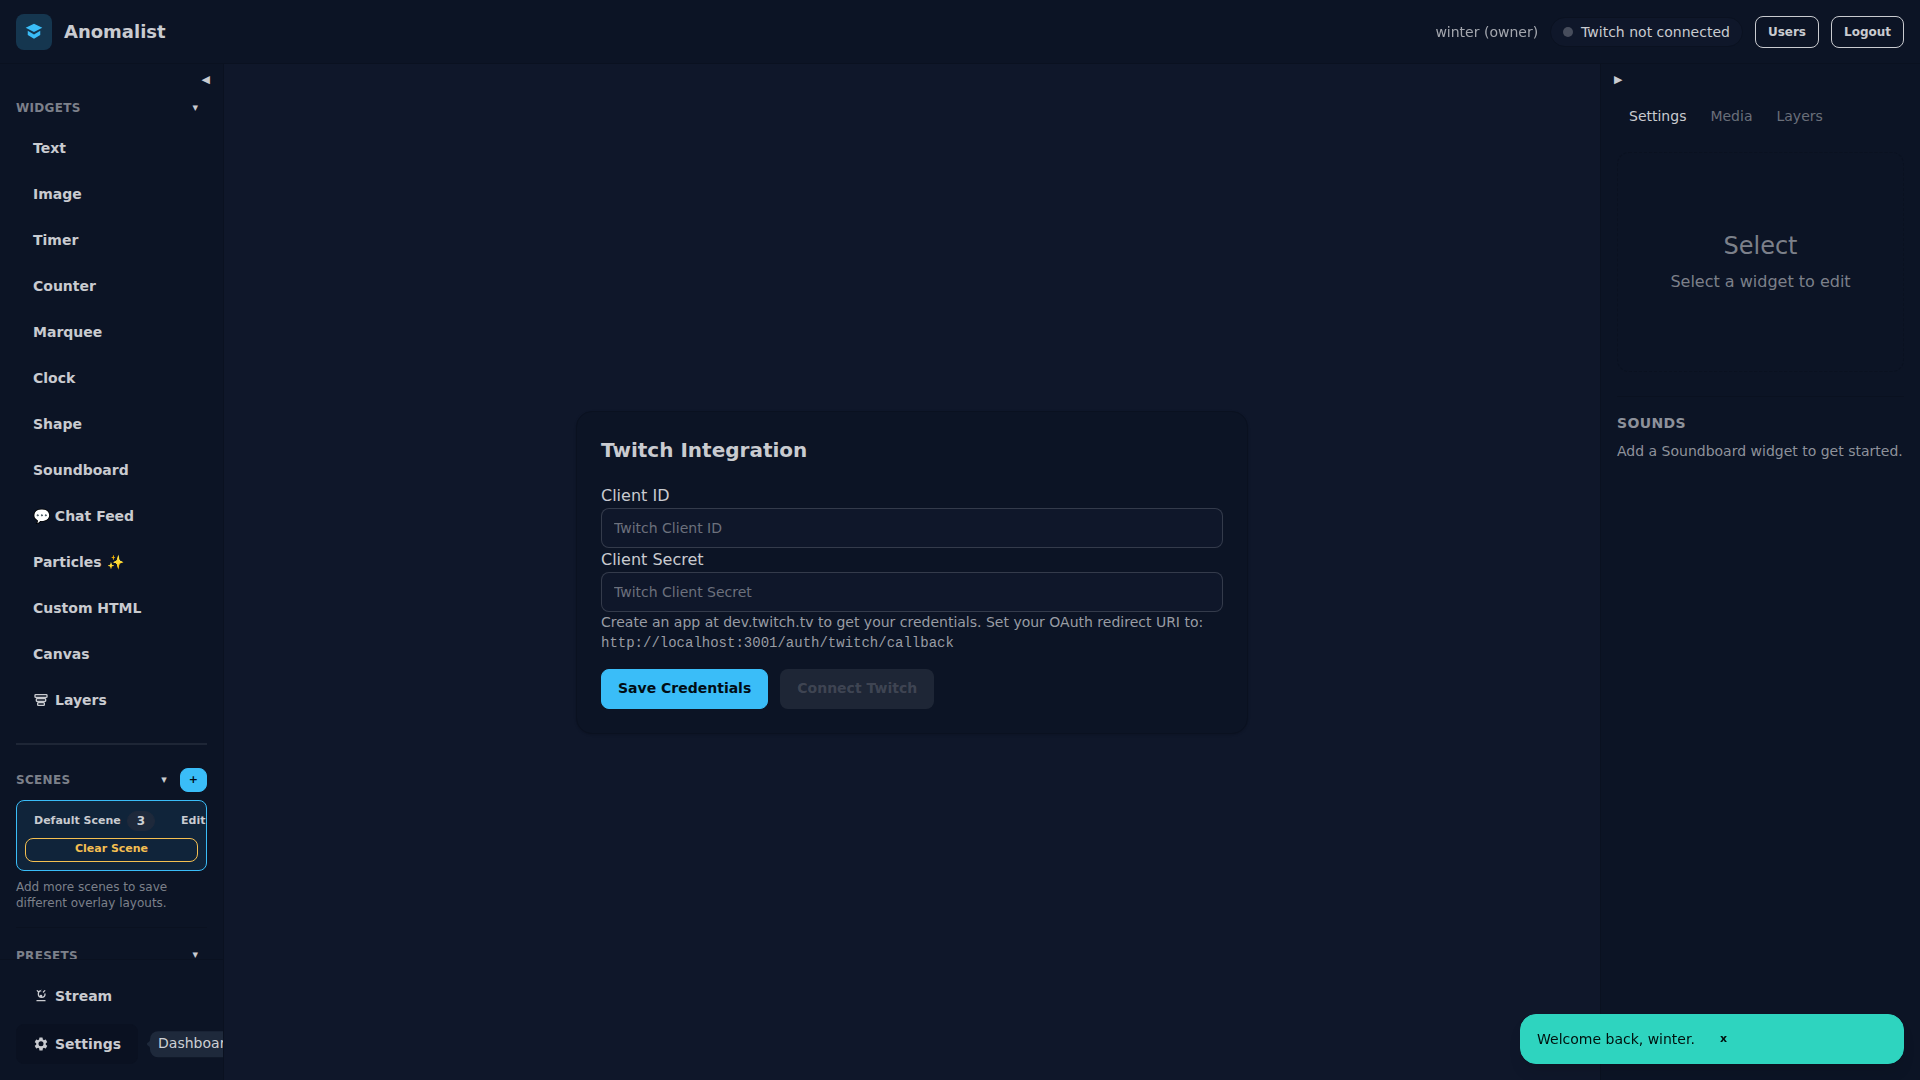
http://your-server:3000/auth/twitch/callback - Category: Broadcasting Suite
Copy the Client ID and Client Secret.
Step 1 — Enter credentials
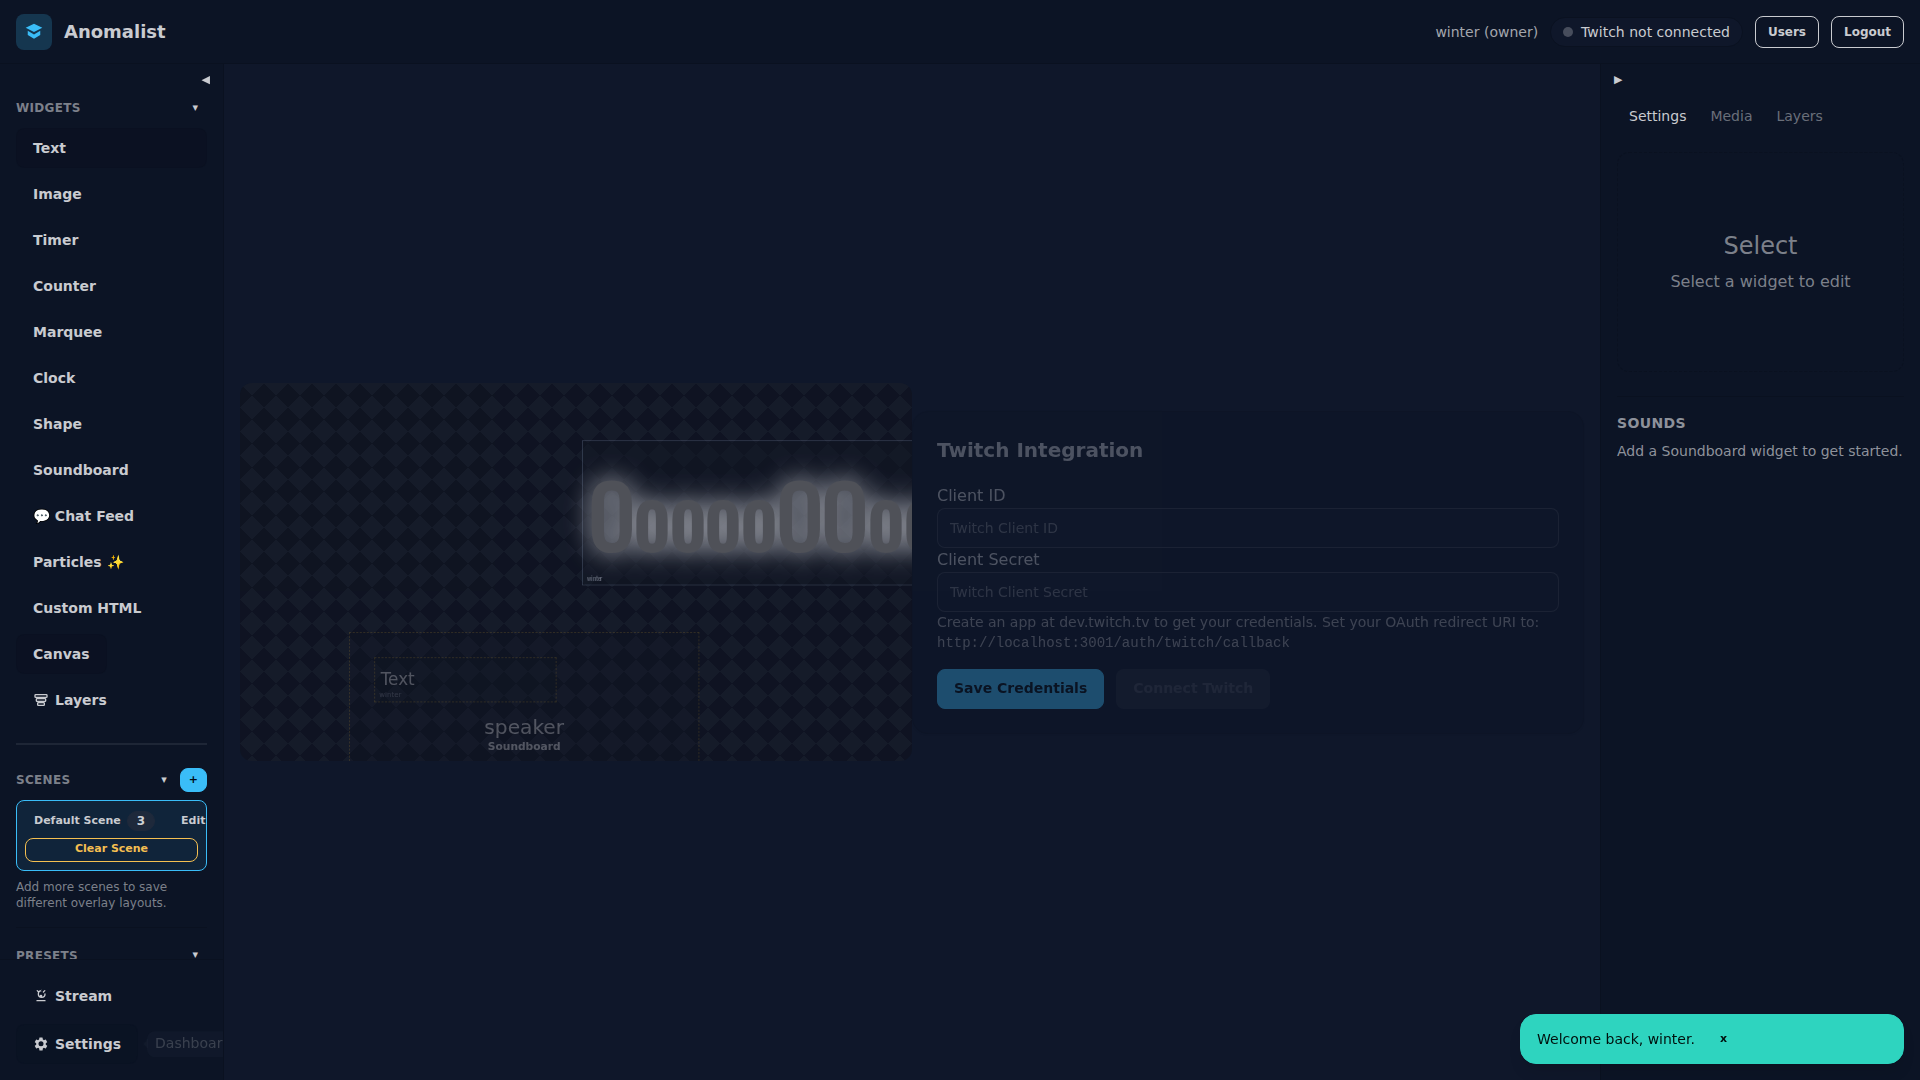
In the Anomalist dashboard, go to Settings → Twitch. Enter your Client ID and Client Secret and save.
Step 2 — Authorise your channel
Click Connect Twitch Account. You'll be redirected to Twitch to authorise the app. After approving, you'll return to the dashboard and see your channel name confirmed.
Anomalist stores the OAuth token in its database and auto-refreshes it before it expires — you won't need to reconnect unless you revoke access.
Step 3 — Enable the chatbot
Toggle Enable Chatbot in Settings. The bot joins your channel's chat under your Twitch account.
The default command prefix is !. You can change it in Settings → Chatbot prefix.
What the chatbot does
| Command | Who can use it | What it does |
|---|---|---|
!sound [name] | Anyone | Plays a sound from your soundboard |
!counter [label] + | Moderators | Increments a counter widget |
!counter [label] - | Moderators | Decrements a counter widget |
Alerts
Anomalist subscribes to Twitch EventSub for:
- Follows
- Subscriptions
- Raids
When an event fires, a widget you've designated as the alert widget will flash briefly. Configure which widget and sound to use in Settings → Alerts.
Stream management
Owners can update their stream title and game directly from the dashboard in Settings → Stream. This calls the Twitch API — no need to open the Twitch dashboard.